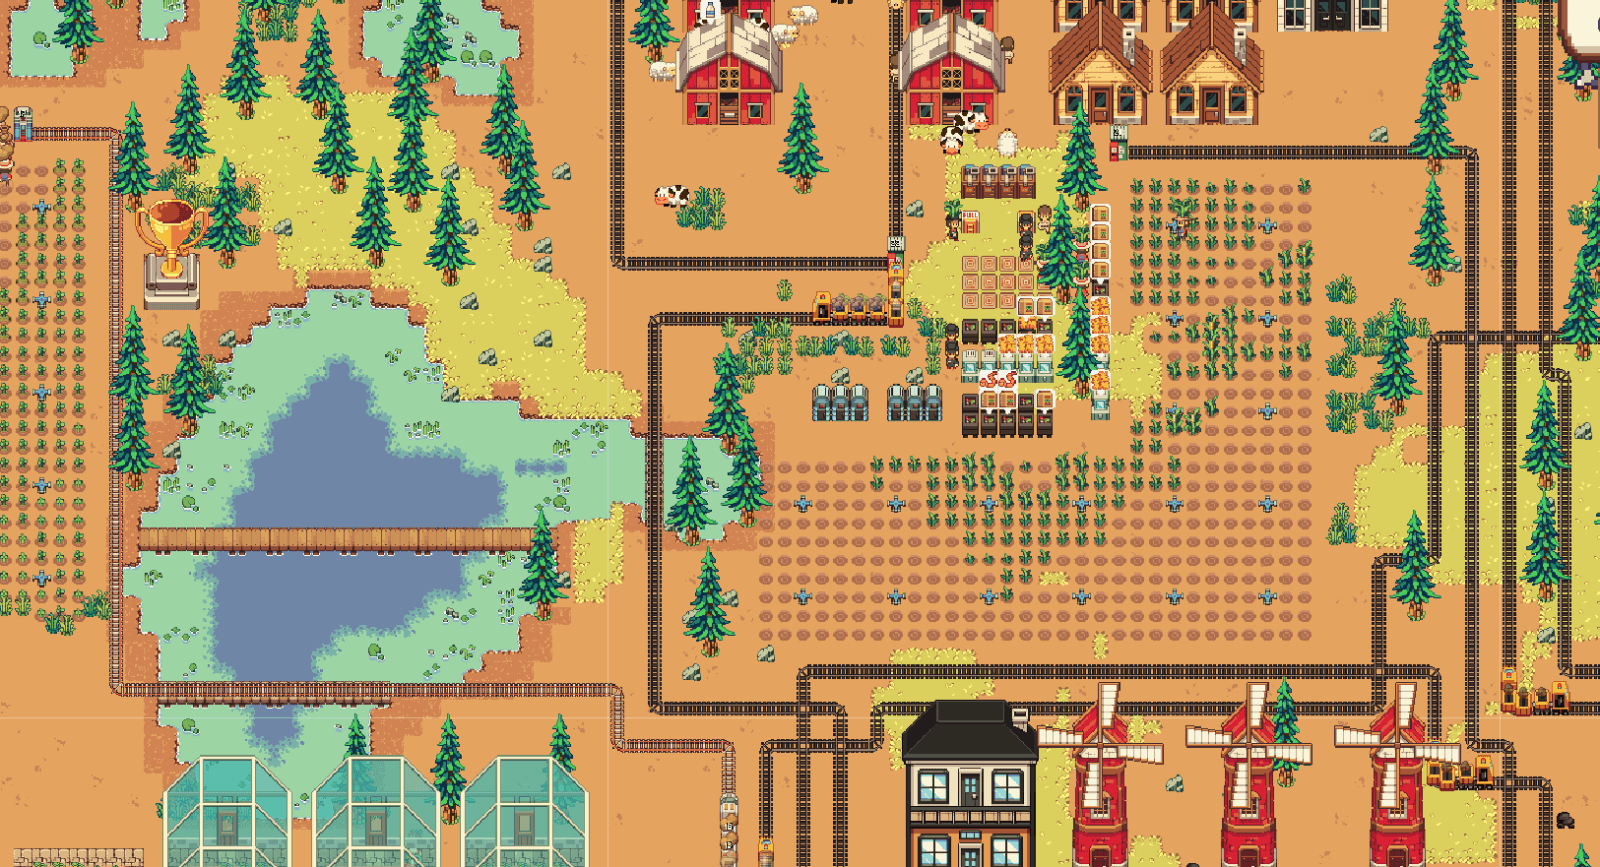

If you're stuck in the game, your economy is going sideways or running at a deficit, and you're losing workers every season, these strategy tips may be what you're looking for. This isn't the one absolute path, but it's proven to work.
Early Game
This is referring to Year 1 of the game. During this first year you receive a bonus on crop sell prices, and how large that bonus is depends on the difficulty you picked. It's a real advantage, make the most of it.
- Produce and sell as many crops as you can: If your current manpower can't keep up, hire more, but be careful not to overspend. If your workers are often idle, you've probably overhired, or your farm plots aren't large enough. Not sure which crops to plant? See Best Raw Crop Value by Season below.
- Invest in sprinklers: Set aside money to buy sprinklers, and keep buying more as you expand. Having workers water your crops by hand is not efficient.
- Keep a small, steady livestock: A Cow is a must-have. It produces Milk on a daily basis, and its Manure can be crafted into Worm Bait.
- Start fishing as soon as you have access to it: Don't sell raw fish; the prices aren't great, especially for basic fish like Tilapia and Catfish. Turn catfish into Smoked Catfish instead, it's worth far more than selling the catfish raw. Tilapia is best cooked into a meal such as Roasted Tilapia; for your miners in the early mid game.
- Don't overspend on craft and processing stations: Once you unlock the “Food Processing” objective, you gain a lot of options for turning raw goods into higher value products, but this is an unintentional economic trap in the early game. Even running a craft station 24/7 can take a full season just to break even, so buying a pile of them and leaving them barely used wastes economic potential. Having several is fine, as long as they're actually being used often. Don't get me wrong, you will need plenty of processing stations later on. It's just not a good idea to buy many of them early, when you don't yet have a stable chain of ingredient production to keep them running 24/7.
- Complete the Greenhouse objective: You can finish the Greenhouse objective within Year 1. It may feel rushed, but it speeds up your progression later on. You don't need to buy the blueprint or build the greenhouse yet, just complete the objective so the blueprint offer unlocks, and you can purchase it whenever you're ready.


Early Mid Game
This is referring to the pre-trains stage. The main strategy here is to build as many greenhouses as you can or need, greenhouses will solve half of your problems.
With greenhouses you can produce any crop year round, which solves seasonal constraints and means crop ingredients are no longer a problem. Selling high value raw crops may still be your main income source, but you need to gradually expand into processing raw item into higher value products.
- Avoid bad investments: Sinking a lot of money into the wrong things can leave your economy stagnant or running at a deficit, and that's hard to recover from. The most common early mid game mistakes are: buying land you don't have a use for yet, overhiring logistic workers, and overhiring miners, miners are expensive and their output needs close attention. Buying items or processing stations you won't actually use falls into the same trap.
- Use transit depots to move goods between zones: Pair a Transit Depot with a logistic worker to haul items across zones. Don't overbuild them though, depots are only a temporary solution until you unlock trains.
- Process before you sell: Turning raw goods into high value products is almost always better than selling them raw.

Tip: Keep a few of every seed in storage, even just one or two. Seeds can't be bought out of season, so if a quest or objective asks for a crop you have no seed for, you're stuck waiting. A small stash saves you that wait.
Mid Game
There isn't much specific strategy to give here, since at this stage the game opens up and your approach becomes much broader. What is mandatory is this: selling end processed products. Selling raw crops alone will no longer sustain your economy.
By this point you'll often be producing items that aren't meant to be sold at all, materials, intermediate goods, and items that exist purely for game progression. You can't take profit from those. So you need to pick an end product you prefer and make it your main economic source, and let that income sustain the parts of your production chain that don't generate profit on their own.
Late Mid Game
This is referring to the stage where your production chains are already stable and trains are moving goods between your zones. Once you're there, the next step is the “Access Export Contracts” objective.
Export contracts ask you to deliver a set amount of a specific item within a deadline. Exported items are worth more than selling them normally, the contract applies a multiplier on top of the base price, so the same production suddenly earns considerably more. Deliveries are also handled for you, which means a contract effectively becomes an automatic selling channel instead of something you have to manage by hand.
The catch is the deadline. If you don't meet the required amount in time, the payout is penalized and you earn less than the base value for what you did deliver. So only take on a contract your production can actually cover, and make sure the chain feeding it is running reliably before you commit.
Used well, this is what lets you scale up. The increased sell price on an end product you're already mass producing gives you the margin to expand your operation to a much larger scale.
Best Raw Crop Value by Season
If you plan to sell your harvest raw, without processing it, these are the crops worth filling your plots with in each season. One pick per season, the highest raw sell value you can reliably buy seeds for.
This only covers the common crops, the ones whose seeds you can buy from VegeSeed and Greenleaf Co.. Special crops obtained in other ways (objectives, research, story rewards, and so on) aren't included, and some of them sell for considerably more. So treat this as the baseline for what's always purchasable, not the absolute ranking of every crop in the game.
Spring, Strawberry

Your best raw earner in spring. Seeds come from Greenleaf Co.. Tomato is the runner up if you want to split your plots, and it also carries over into summer.

Summer, Tomato
The best purchasable crop for summer, with seeds sold at VegeSeed in both spring and summer.
That said, keep it in perspective: tomato only wins here because we're ranking raw summer crops. In the wider game tomato is a low value crop, so don't build your long term economy around it.
The other summer pick is Wheat. Seeds are sold at Greenleaf Co. in spring and summer. Sold raw it looks worse than tomato and the margin is thin, but wheat isn't meant to be sold raw. Once you process it, it leaves tomato far behind.

Fall, Pumpkin

The highest raw sell value of any buyable crop in the game, sold as seed at Greenleaf Co.. It takes longer to grow than the other picks and the seeds cost more, but the payoff per harvest is large enough that fall is usually your strongest raw selling season.
Winter, Winter Fruit

The only crop that grows outdoors in winter, so there's no real choice to make here, but it's a good one, worth more than tomato and quick to grow. Seeds are stocked at Greenleaf Co. during winter.
Training Your Miners
Every miner you hire starts at 0 XP, and a low XP miner produces ore slowly. That's the main reason overhiring miners drains your economy: you pay a full salary for very little output. XP increases with every ore a miner generates, so the cost is recoverable, but only if you train them in the right place first.
New Miners and Valuable Deposits
Assigning a low XP miner to Gold Ore or Lithium Ore is not efficient; their salary will outrun the value of what they extract. Iron Ore and Copper Ore are less extreme, but still questionable at low XP.


Training on Sand or Coal
XP is counted per ore generated, regardless of type. A unit of Sand gives the same XP as a unit of gold ore, so the fastest way to level a miner is to assign them wherever output volume is highest.

That's sand mining at the beach, the fastest generation rate in the game and the best training ground for a newly hired miner. Coal is the second choice if sand isn't available to you yet. Once their XP is up, move them onto the valuable deposits.

Meal Bonuses
Meals boost a miner in two different ways:
- Learning, the miner gains XP faster. Use this while training. Roasted Tilapia is the easiest to make, and Tilapia is a fish you'll be catching plenty of anyway.
- Mining speed, the miner extracts faster. Use this once they're trained and working a valuable deposit. Roasted Catfish is the cheapest option, with Tilapia Meal and Sardine Meal giving bigger boosts.


A learning meal combined with sand mining is the fastest miner training available in the early mid game.
Answers You May Questioned
Click a question to reveal the answer.
Extracting seeds with a Seed Extractor is generally cheaper than buying them from a store, so it will always save you some money. The difference isn't dramatic though, across a few hundred seeds the saving is small enough that you won't really feel it.

Where it matters is scale. Once you're planting seeds by the thousand, those small per seed savings add up into a meaningful amount, so extraction is worth setting up for large operations.
Workers need a Dining Set to eat their meals. You can craft one at the Woodworks or buy it from the Craftsman Shop.


Placing the dining set puts down the table and its chair together in one go. Clicking it also lets you configure which meals are allowed and which aren't.
You can automate tree chopping with the Lumber Drone Depot, which can be purchased from Volta Enterprises.
